how to remove ring chime cover
Its probably been painted several times you just need to get through the paint. Slide the chime cover up and off of the chime box.
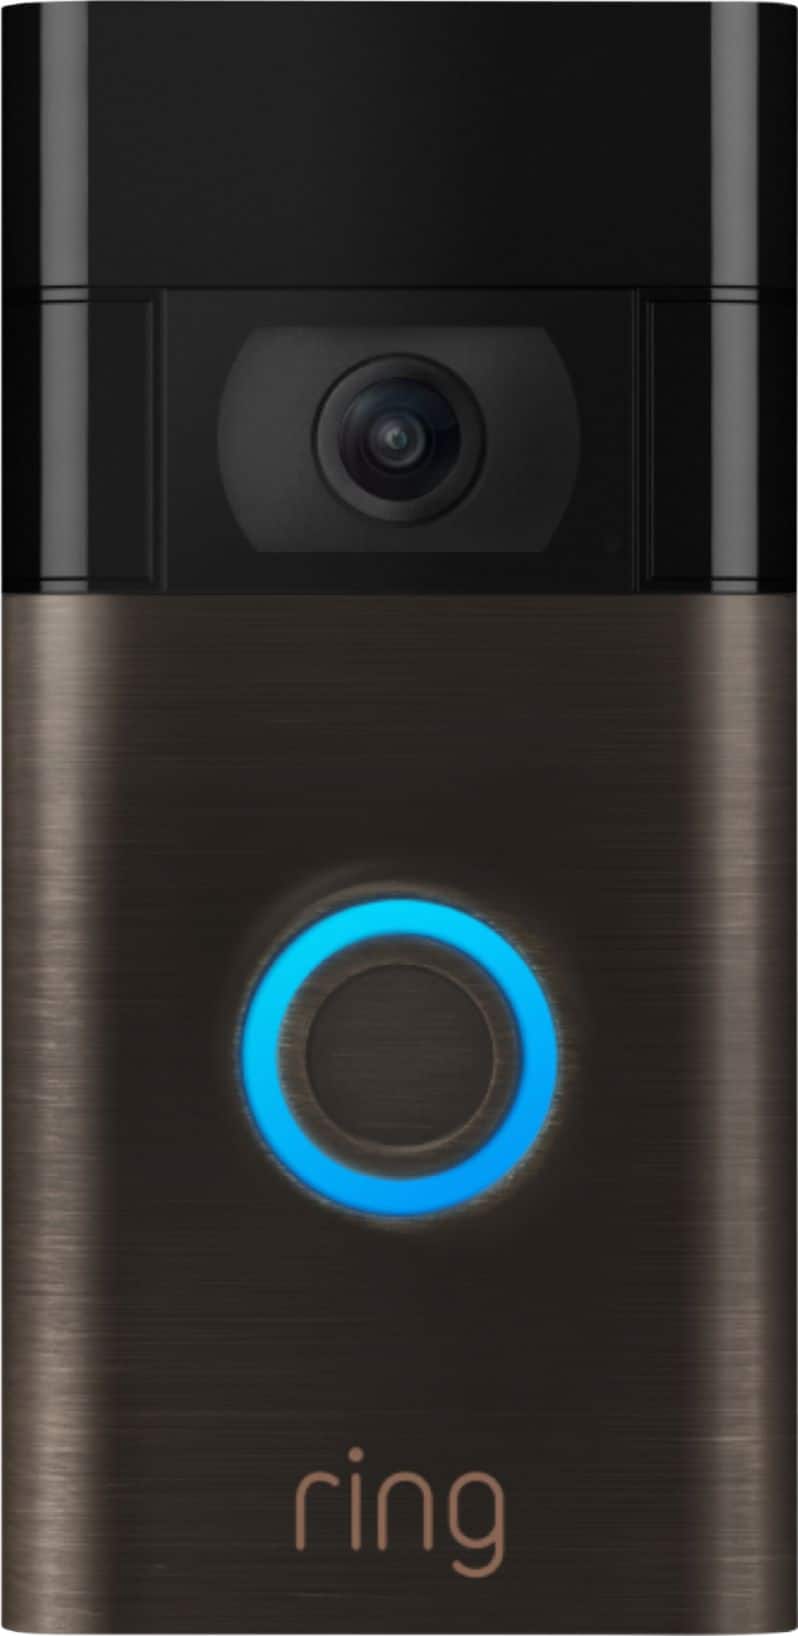
Ring Video Doorbell 2020 Release Venetian Bronze 8vrasz Ven0 Best Buy
Either way removing the Ring doorbell with a screwdriver and other tools is definitely not a fun experience.

. If the toggle is white the feature is disabled. Tap on your Ring Pro. See my video on replacing troubleshooting your doorbell FIRST.
It is quite easy to do and is no rocket science. There are two tabs on the top and two on the bottom. Take a razor blade around the outside where it meets the wall.
Up to 15 cash back This series of door chimes does not have any screws holding the cover on. See How to install the Ring Chime later in this article if. Remove the cover from your internal doorbell chime.
TURN OFF THE ELECTRICITY. The best way to go is unscrewing the screws and then using the screwdriver in a lever position to force the anchors out. Tap the toggle to disable or enable your in-home doorbell chime.
It can be a bit tricky to remove the Cover of the Ring 2 Doorbell. Insert a screwdriver between the cover and the wall of the house. Even though they have a clean modest design that doesnt draw much attention they will provide a nice upgrade to any old doorbell chime.
You can check by locating the doorbell chime box in your home and removing the cover. A hardwired Ring Doorbell can be connected to your homes existing mechanical doorbell chime so that you hear the doorbell ring inside your home in addition to getting a notification on your phone. If you are working from the top pry upward once the screwdriver blade is inside the housing.
Carefully pull the button housing away from the wall. Remove the Junction Box Cover. Open the Ring app on your phone once again and select your Ring doorbell devicenot the Chime.
Select Doorbell Kit Settings. Remove doorbell chime cover. You will be lifting the tabs off of the base.
Tap the toggle to disable or enable your in-home doorbell chime. Push the button and the chime tones sounds. For the Ring Wired attach the provided jumper cable.
If you prefer simplicity over grandeur look for a neutral boxy shape thats pleasing to the eye yet can virtually disappear on the wall when mounted. Use a screwdriver to remove the mounting screws that secure the doorbell cover. Just flip open the breaker or remove the battery.
Open the Ring app. Tap Done in the upper right to save your changes. If you do not have this screwdriver I recommend reaching out directly to our support team or a replacement one.
Then just pull it off. Remove the protective decal from the Pro Power Kit v2 to expose the Bypass Mode wire terminals. Loosen the Front and Trans terminal screws.
Remove the old Pro Power Kit and its attached wire harness. Trace or diagram the cover on a piece of paper. If you take out the metal from the screwdriver and flip it over this may help as one of the sides is the side that helps remove the security screw.
Go to your Ring app and delete the hardwired doorbell option. Detach the doorbell wires from the internal doorbell chime and straighten the ends. People also ask do you have to turn.
On the home screen tap your doorbell. Remove the old Pro Power Kit and its attached wire harness. Although the instruction manual wants you to install the device using the screws it might not be the best way to go.
Remove 2 or more screws that hold the chime cover in place. Dont just pull or youll peel paint off the wall with it. 1 day agoNow locate your indoor chime and remove the cover.
It will automatically restart your device and may throw a ray of hope in resolving your mechanical chime issues. Loosen the Front and Trans terminal screws. If the chime is mechanical you will see a physical.
TURN OFF THE ELECTRICITY. Press a tab at the bottom and possibly also the top of the chime cover and pop it off of the chime box. If they are not visible you may have to unsnap the cover to reach them.
If it doesnt ring correctly select one of these options. Remove the doorbell chime cover and unscrew the wires that supply the unit with power. Click to see full answer.
Next remove the cover from the chimes. Turn off power at the circuit breaker panel box. Keep track of the screws for later use.
If the toggle is green the feature is enabled. In the event you have the correct one after all but the screwdriver continuously.

Ring Protect Protector Let S Do The Door Bell Again Home Security Systems Ring Doorbell Wireless Home Security Systems

Repetidor De Wi Fi Extensor De Cobertura Inalambrico Universal Ring Video Doorbell Video Doorbell Ring Video
Ring Video Doorbell 4 Removable Rechargeable Battery Or Hardwired Smart Video Doorbell Camera With Color Pre Roll In The Video Doorbells Department At Lowes Com

Ring Video Doorbell Pro Housing Repalcement Ifixit Repair Guide

Intercom Speaker Doorbell Wall Plates Nutone Tektone M S Plates On Wall Doorbell Doorbell Cover

Simple Ways To Remove A Ring Doorbell Cover 10 Steps

Pin On Smart Home
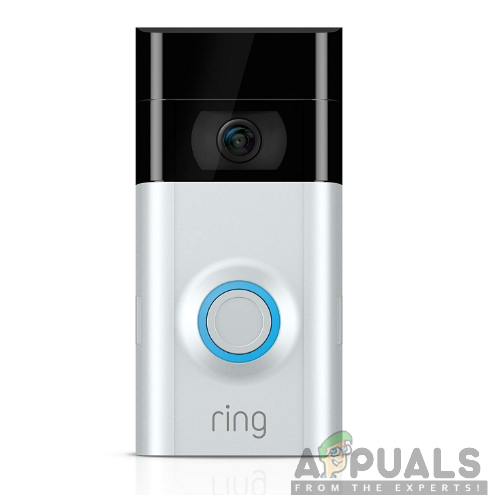
How To Setup And Install Ring Doorbell Appuals Com
Diy Ring Doorbell Mount Diy Doorbell Doorbell Cover Ring Doorbell

What A Little Paint Can Do Doorbell Cover Life Should Cost Less Doorbell Cover Door Bell Chime Cover Diy Doorbell
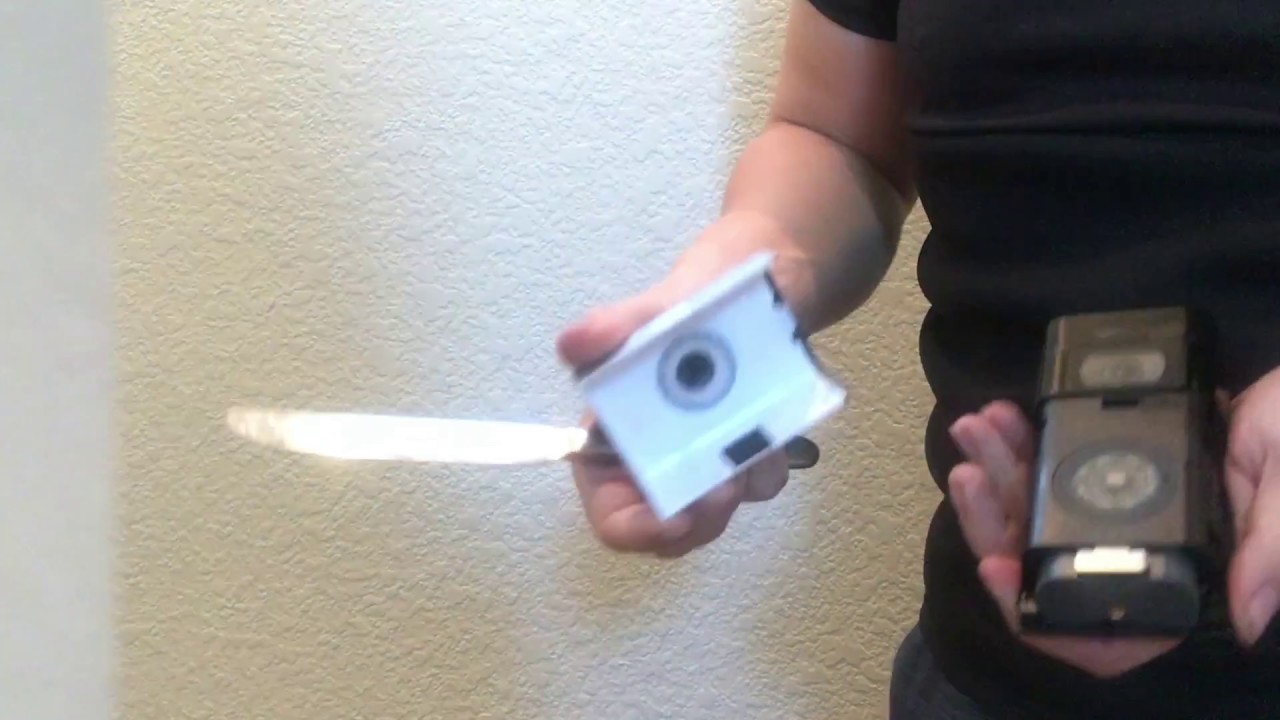
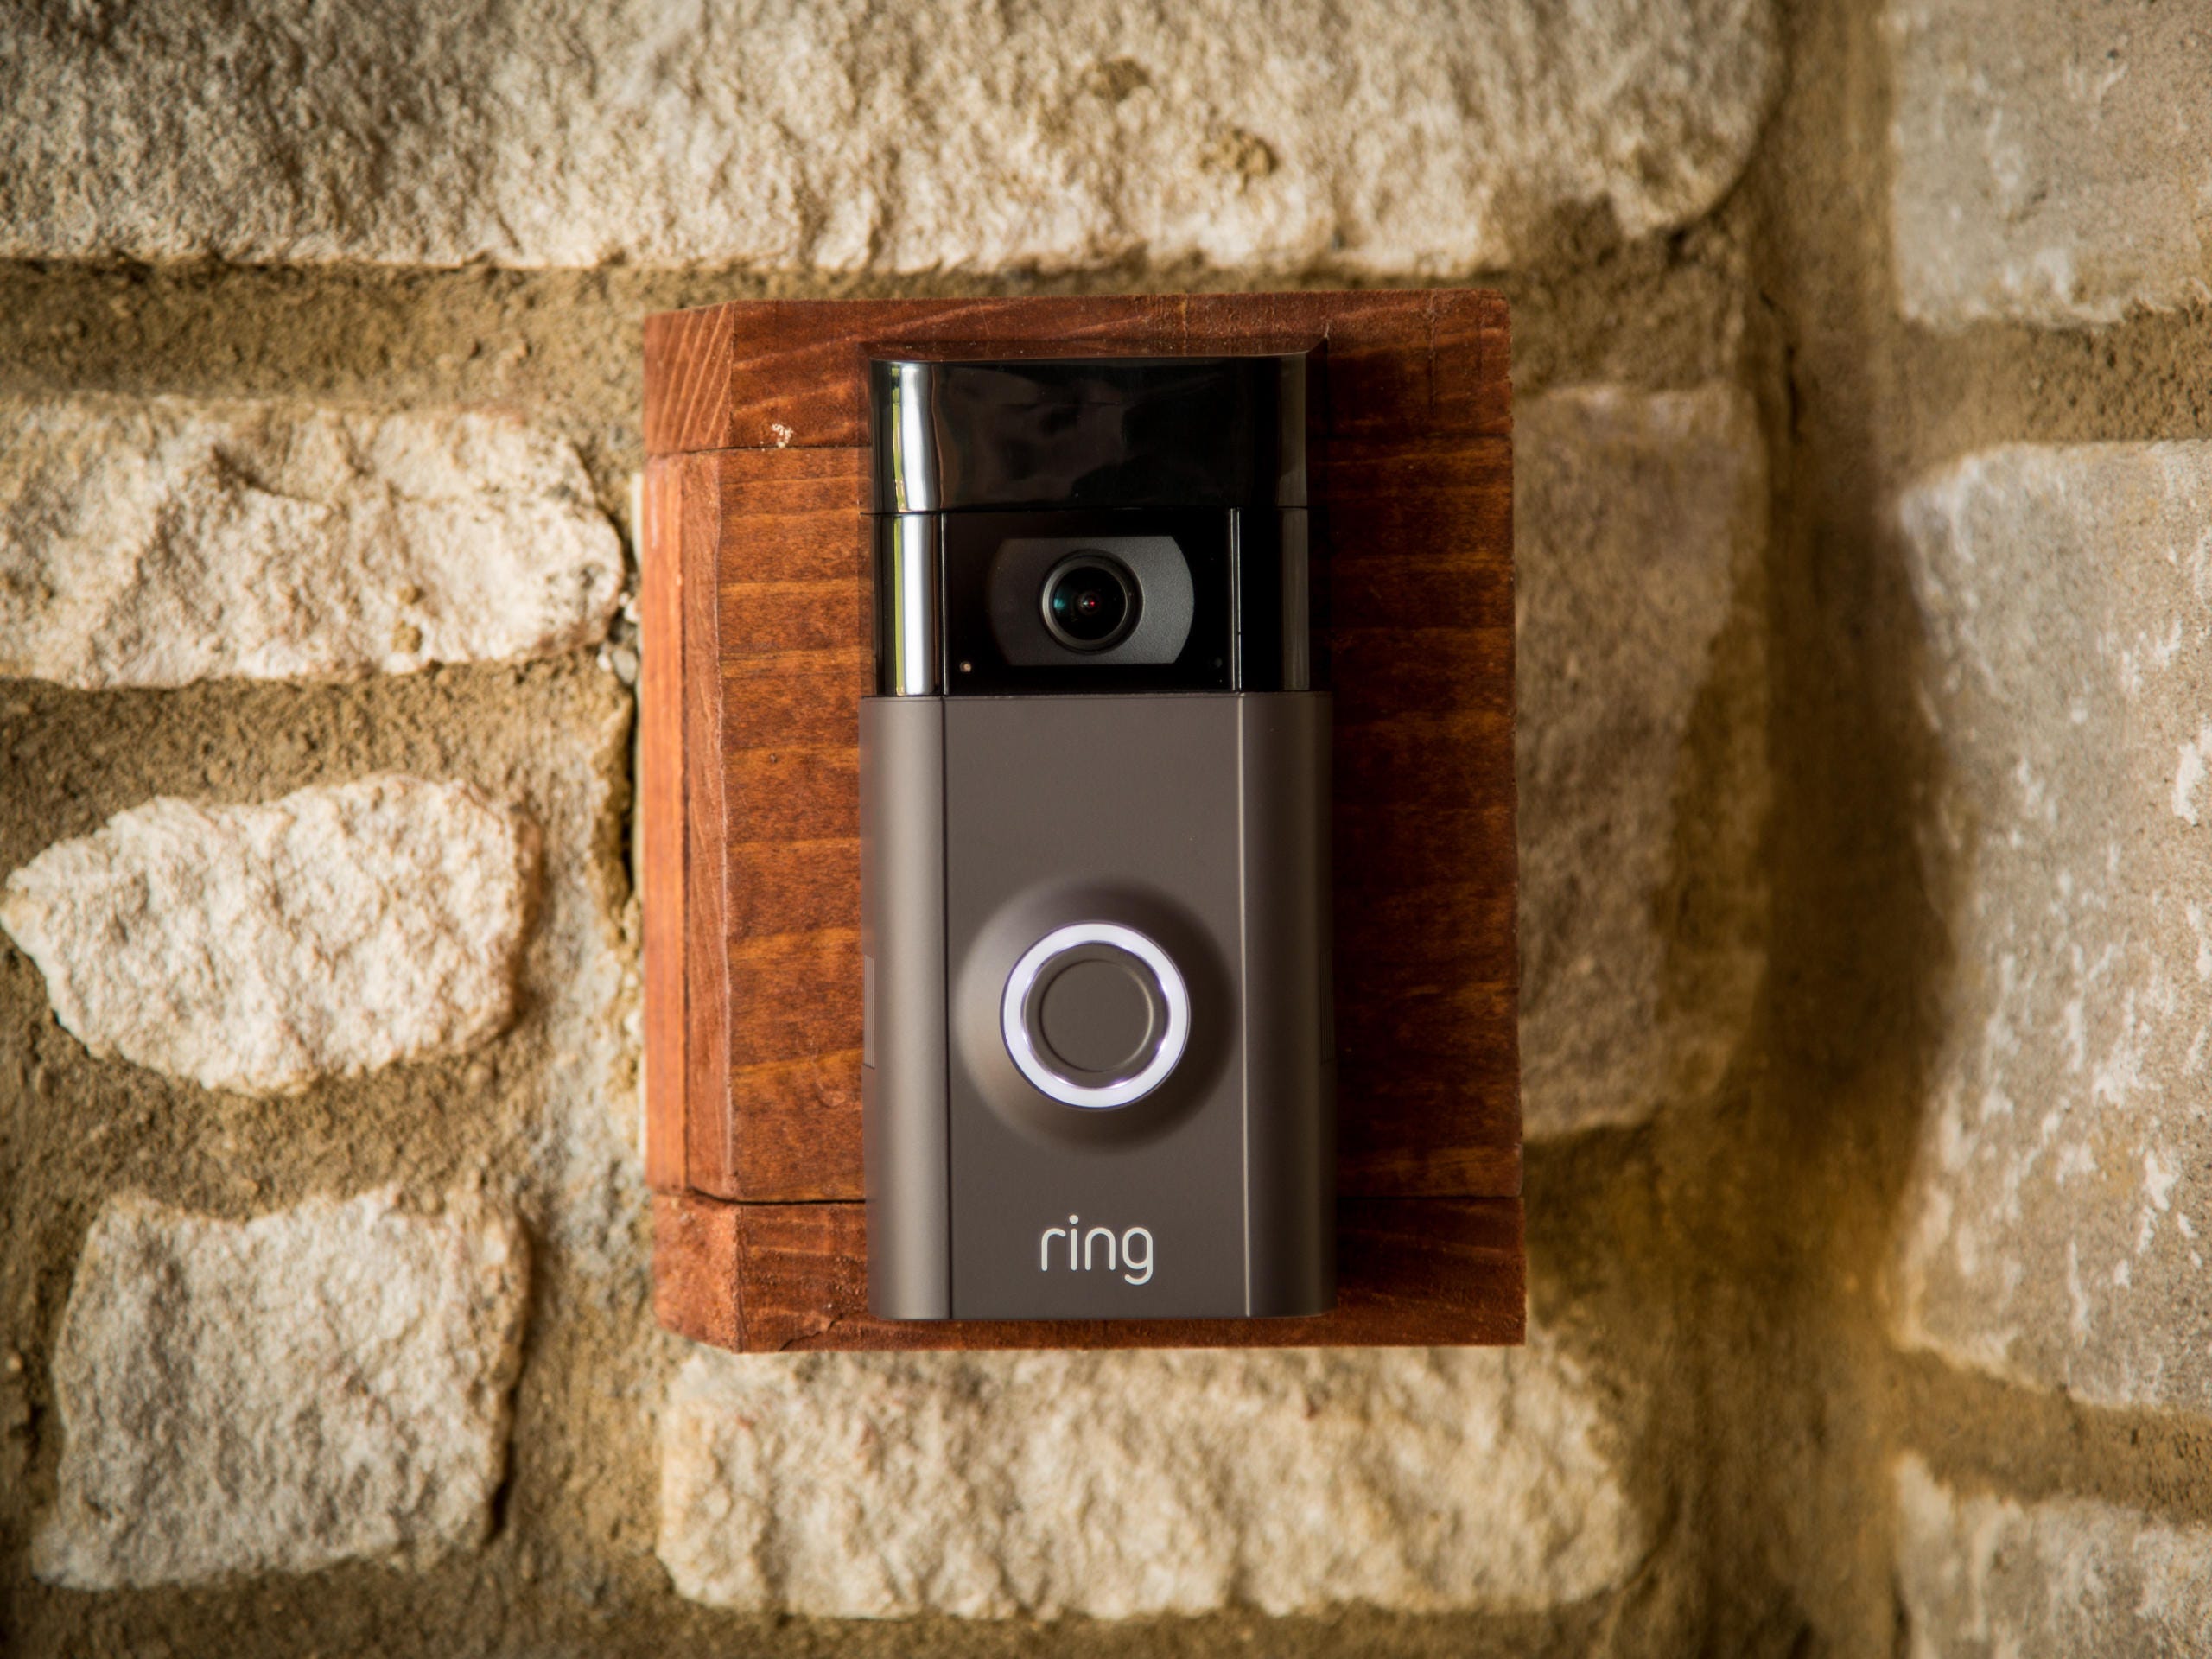
How To Remove The Ring 2 Doorbell Cover Youtube

Decorative Doorbell Chimes Cover Doorbell Cover Doorbell Chime Diy Doorbell
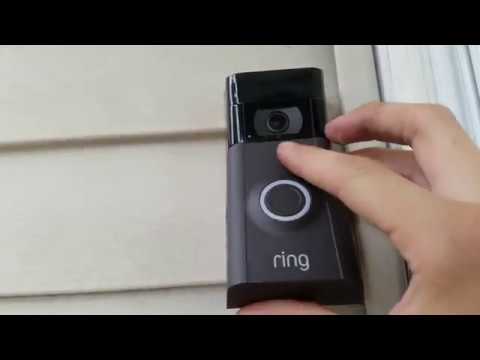
How To Remove Cover On Ring Doorbell 2 Youtube

Ring Wi Fi Enabled Doorbell 99 My Frugal Adventures Doorbell Doorbell Chime Ring Video Doorbell
Install The Ring Video Doorbell 2 In No Time Cnet
Ring Video Doorbells Are They The Best Reviews Org
How To Fix Ring Doorbell Not Ringing The Droid Guy

Amazon Netflix Stocks Get Street High Price Targets Amzn And Nflx Up Amazon Work From Home Nasdaq Remote Jobs

Oh The Surprising Things You Ll See Through A Ring Doorbell Ring Doorbell Doorbell Wifi Signal